# Next.js
# TypeScript
App Router を利用したサーバーアクションによるメール送信機能
投稿日:2025/1/4
更新日:2025/1/5

前置き
Next.jsのサーバーアクションを利用してメール送信機能を作成してみたので、その備忘録用です。
今回はアプリケーションで用意したフォームからGmailで値を送信するケースを想定しています。
必要なパッケージのインストール
nodemailerを利用するのがメジャーみたいなのでこちらのパッケージをインストールしましょう。
TypeScriptを利用している方は型もインストール必須です!
npm install nodemailer
npm i --save-dev @types/nodemailer
サーバーアクションの実装
先にサーバー側の実装を行います。
"use server";
import { revalidatePath } from "next/cache";
import { redirect } from "next/navigation";
import nodemailer from "nodemailer";

export async function sendEmail(formData: FormData) {
  // トランスポーターの設定
  const transporter = nodemailer.createTransport({
    service: "Gmail",
    auth: {
      user: "your-email@gmail.com", // Gmailのアカウント
      pass: "your-app-password",    // アプリパスワード(のちに作成します)
    },
  });

  // フォームデータの取得
  const data = {
    // 宛先メールアドレス
    to: formData.get("email") as string,
    // 件名
    subject: formData.get("subject") as string,
    // メール内容
    text: formData.get("message") as string,
  };

  // メール送信オプション
  const mailOptions = {
    from: "your-email@gmail.com",
    ...data,
  };

  // メール送信
  const res = await transporter.sendMail(mailOptions);

  if (res) {
    revalidatePath("/", "layout");
    redirect("/");
  } else {
    revalidatePath("/", "layout");
    redirect("/");
  }
}
注意しないといけないのがトランスポーターの設定で、メール送信にGmailのアドレスだけでは送信できないみたいで、アプリパスワードというものをGmailで設定する必要があります。
まぁそうでないと誰でも他人のメールアドレスでメールを送れてしまうので当たり前ですよね、、WW
というわけで、必要なパスワードを作成します。
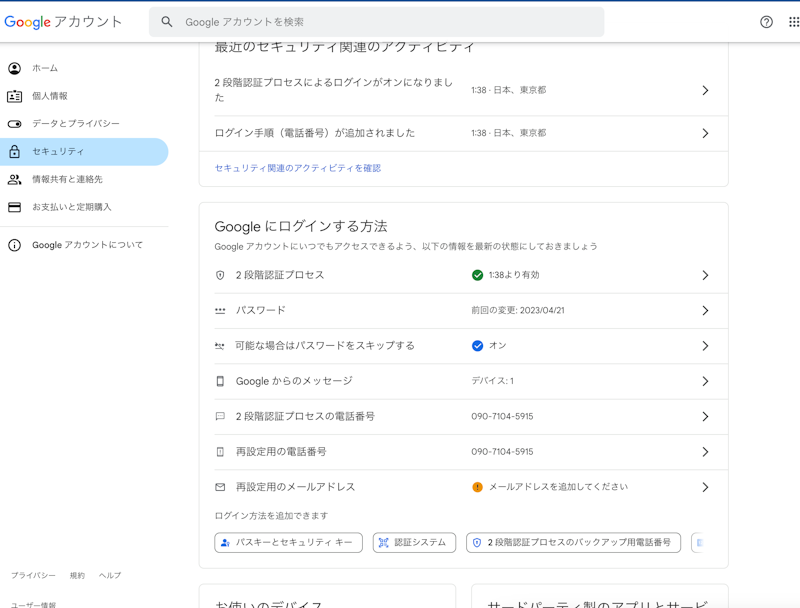
1. Googleアカウントの2段階認証を有効にする
こちらにアクセスして2段階認証プロセスを有効にします。
こちら有効になっている方は飛ばしてOKです。
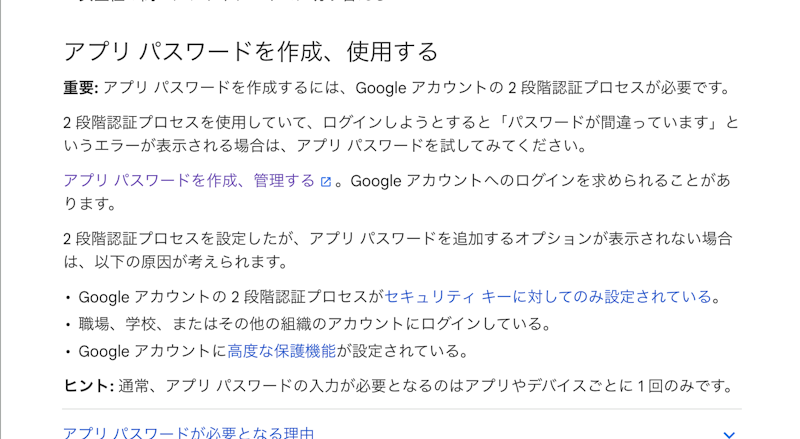
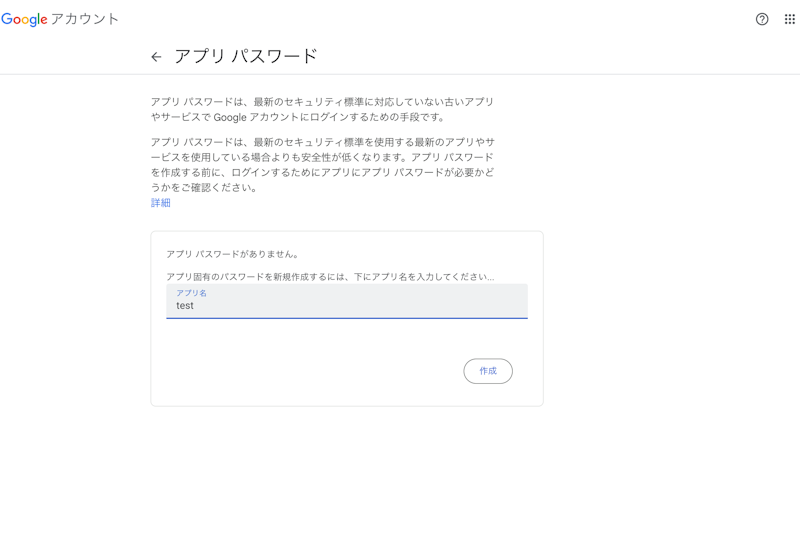
2. アプリ パスワードを作成する
上記リンクのアプリ パスワードを作成、管理するをクリックしてください。
適当な名前をつけておきます。
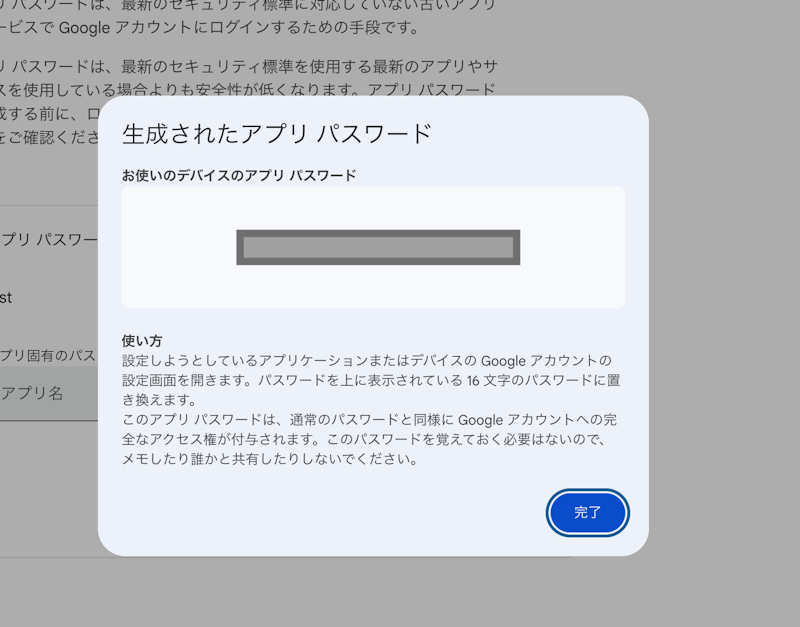
ここでパスワードが発行されるので、このパスワードをトランスポーターの設定のところに設定しましょう。
    // トランスポーターの設定
    const transporter = nodemailer.createTransport({
      service: "Gmail",
      auth: {
        user: "your-email@gmail.com",
        pass: "aaaa dddd ffff gggg",    // <= ここ!!!
      },
    });
フォームの作成
フォームを作成して、action属性に先ほど作成したsendEmail関数を設定します。
import { sendEmail } from "@/app/(main)/mail/sendMail";

export default function Page() {
  return (
    <form action={sendEmail}>
      <div>
        <label>Email:</label>
        <input type="email" name="email" required />
      </div>
      <div>
        <label>Subject:</label>
        <input type="text" name="subject" required />
      </div>
      <div>
        <label>Message:</label>
        <textarea name="message" required></textarea>
      </div>
      <button formAction={sendEmail} type="submit">
        Send Email
      </button>
    </form>
  );
}
これで設定は完了です。
テストしてみましょう!
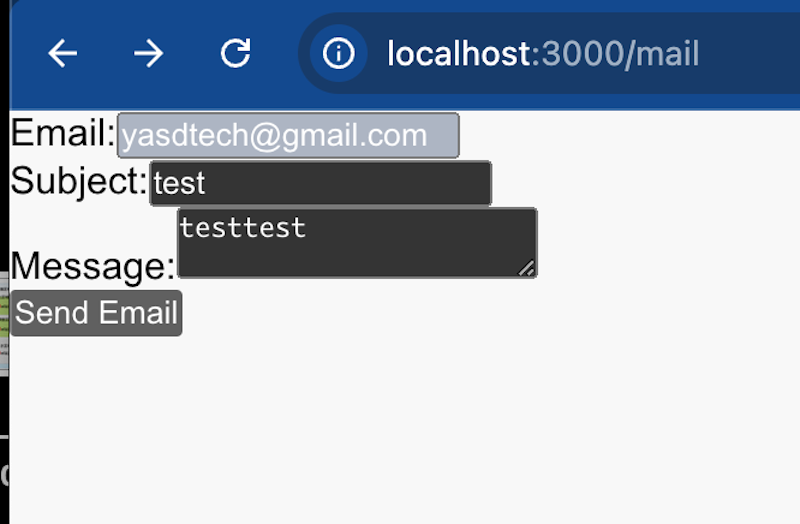
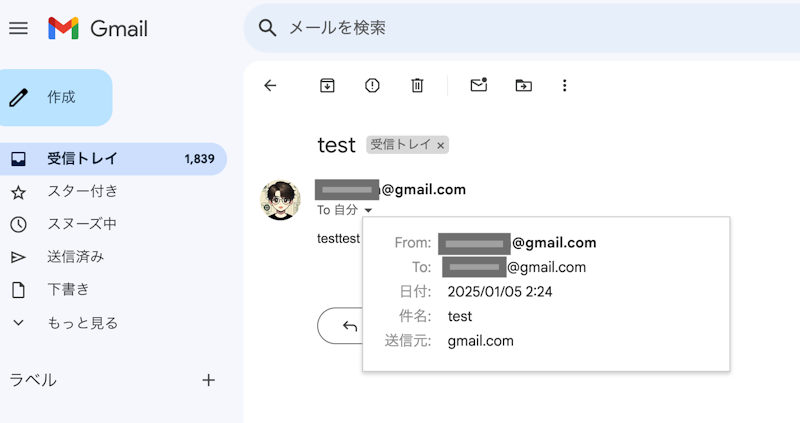
うまくできてそうです!
まとめ
Railsでやった時より数倍楽に作成できた気がする、、
Index
- 前置き
- 必要なパッケージのインストール
- サーバーアクションの実装
- 1. Googleアカウントの2段階認証を有効にする
- 2. アプリ パスワードを作成する
- フォームの作成
- まとめ